All Products

Explore our site to discover the innovative solutions you need, including cutting-edge scientific equipment, advanced semiconductors and electronics products, and more.

Filter

Filters
Search

Showing 577–600 of 605 results

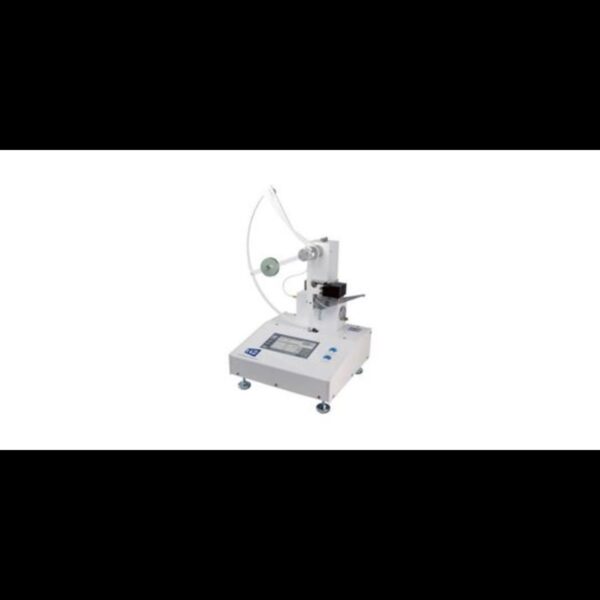
  • TMI – Coefficient of Friction/Peel tester – Model 32-76e

    Testing Machines Inc., is globally recognized as the leading supplier of coefficient of friction instrumentation. Our NEW 32-76e coefficient of friction/peel tester uses advanced digital force signaling and high-speed data acquisition software to …

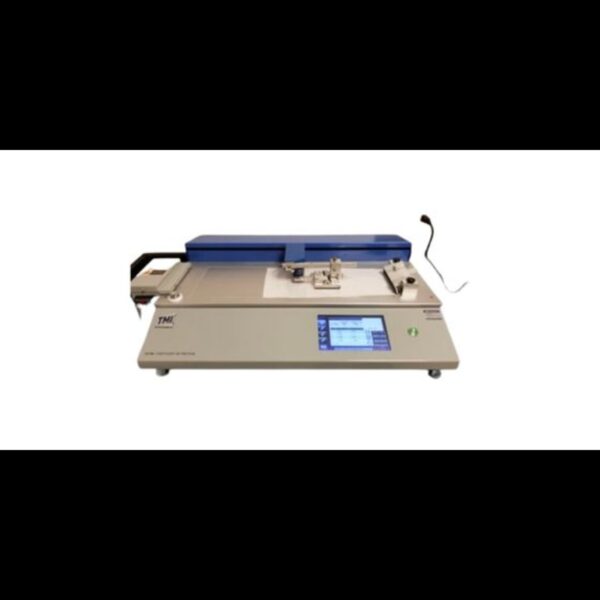
    Testing Machines Inc., is globally recognized as the leading supplier of coefficient of friction instrumentation. Our NEW 32-76e coefficient of friction/peel tester uses advanced digital force signaling and high-speed data acquisition software to provide unmatched precision and repeatability in COF and peel testing.

    Improved features include a color touchscreen display and intuitive software user interface for easy navigation and test method storage.

    New peel testing capabilities include 180° peel and T-peel measurements.

  • TMI – Compression Tester

    Microprocessor control and operator-friendly software makes the 17-76 simple to operate. A new Servo motor design provides closed loop feedback for accurate and repeatable position control.  Ergonomic control layout maximizes t…

    Microprocessor control and operator-friendly software makes the 17-76 simple to operate. A new Servo motor design provides closed loop feedback for accurate and repeatable position control.  Ergonomic control layout maximizes the testing sequence while minimizing sample testing errors resulting in incorrect data.  The instrument meets or exceeds all international testing standards for accuracy, precision, and parallelism.

    System software includes 8 corrugated test methods for quick access including: RCT, CCT, ECT, CMT, FCT, PAT, CLT and SQT- score test which calculates score ratio of scored verses unscored samples.  Test methods can be created by the operator and stored for future reference to simplify test set up. Other compression methods include peak force, peak height and stack load.

  • TMI – Digital Ink Rub Tester – Model 10-20

    The Digital Ink Rub Tester uses the Sutherland-method and is designed to measure scuffing or ink rub resistance. Several tests can be performed including dry rub (the amount of transfer ink from one dry surface to another), wet rub (the amount of …

    The Digital Ink Rub Tester uses the Sutherland-method and is designed to measure scuffing or ink rub resistance. Several tests can be performed including dry rub (the amount of transfer ink from one dry surface to another), wet rub (the amount of transfer of ink from wetted surface to another), wet bleed or transfer (ink transfer to a water-saturated blotter), wet smear (similar to wet bleed with the addition or rub cycles), functional rub/wet rub (smear or transfer tests using a liquid other than water and hot abrasion). An optional heated weight provides the 10-20 Rub Resistance Tester with a uniform test for evaluating hot abrasion resistance of printed materials like fabric, plastics.

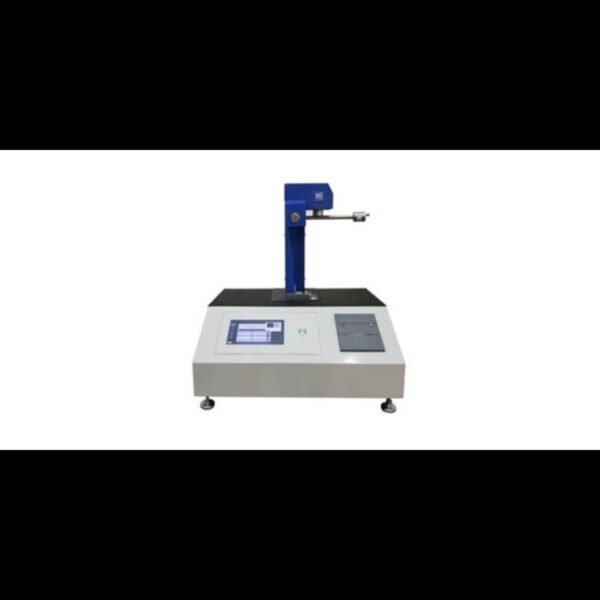
  • TMI – Elmendorf Tear Tester – Model 83-86

    An automatic, digital tear tester equipped with an optical encoder for measuring the angular position of the pendulum during tearing and converting this measurement to tear strength units. A large, full-color touchscreen display with intuitive, ea…

    An automatic, digital tear tester equipped with an optical encoder for measuring the angular position of the pendulum during tearing and converting this measurement to tear strength units. A large, full-color touchscreen display with intuitive, easy-to-use software provides a revolutionary new approach to testing and data review.

  • TMI – Internal Bond Tester and Prep Station – Model 80-26

    The Internal Bond™ Tester is designed to determine the internal bond strength of a variety of Paper and Board materials according to TAPPI T 569 and ISO 16260. The instrument design is based on a falling pendulum which creates a high speed impac…

    The Internal Bond™ Tester is designed to determine the internal bond strength of a variety of Paper and Board materials according to TAPPI T 569 and ISO 16260. The instrument design is based on a falling pendulum which creates a high speed impact on a paper specimen. The paper specimen is sandwiched between two double-coated tape substrates. The pendulum impact measures the total energy required to delaminate the internal fibers of a specimen in a “Z” type direction into two plies.

    An automatic sample preparation station (Model 80-30) is available which allows five specimens to be accurately pressed and cut simultaneously. The prep station includes a safety enclosure over the cutting blades, eliminating the use of box cutting knives to separate the individual test specimens.

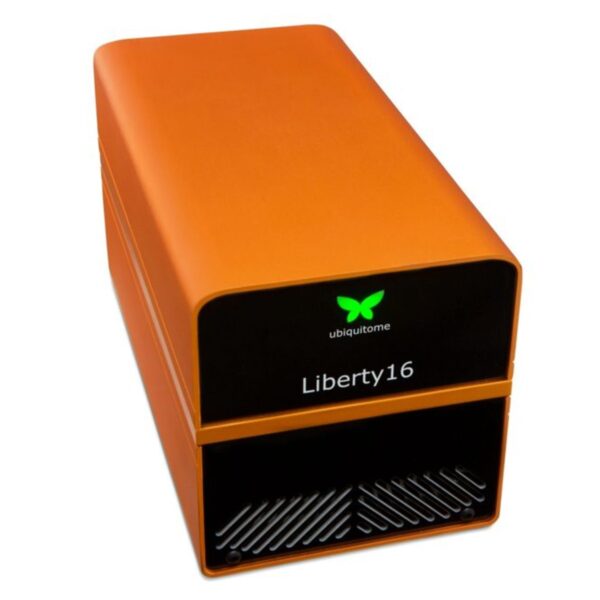
  • Ubiquitome – Liberty16 mobile real time PCR system

    The Liberty16 is your personal qPCR machine. Run your samples without waiting, using a beautiful device that sits neatly on your bench.

    It even has a robust, stylish aluminum casing which makes it standout wherever you a…

    The Liberty16 is your personal qPCR machine. Run your samples without waiting, using a beautiful device that sits neatly on your bench.

    It even has a robust, stylish aluminum casing which makes it standout wherever you are.

    It doesn’t even need a laptop to run. Download the powerful Ubiquitome iPhone app from the App Store. It allows you to set up your run, view the run in progress, call Cq’s dynamically and even upload your data to share in the cloud.

  • United Testing Systems – Speedy Tester – United LCH

    The United Model LCH Speedy Tester is a portable, hydraulic testing machine incorporating a highly accurate, built-in digital information system for the display of test data.

    The “Speedy” is ideal f…

    The United Model LCH Speedy Tester is a portable, hydraulic testing machine incorporating a highly accurate, built-in digital information system for the display of test data.

    The “Speedy” is ideal for testing applications where putting expensive lab or R&D equipment on the factory floor may not be feasible.

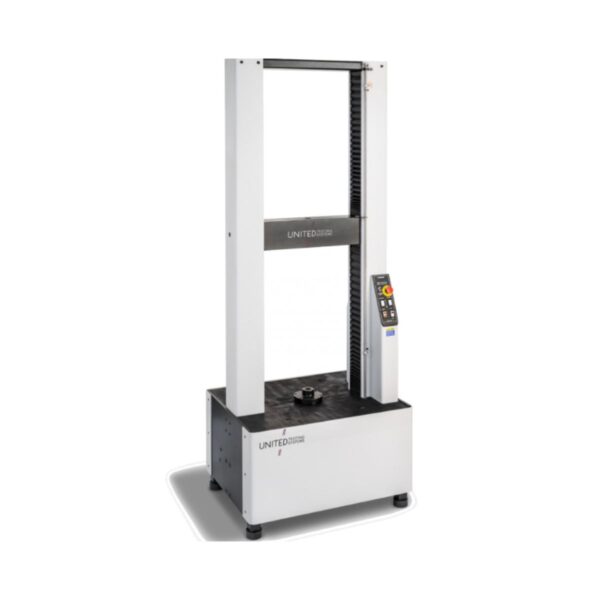
  • United Testing Systems – Test Frame – DFM 150kN

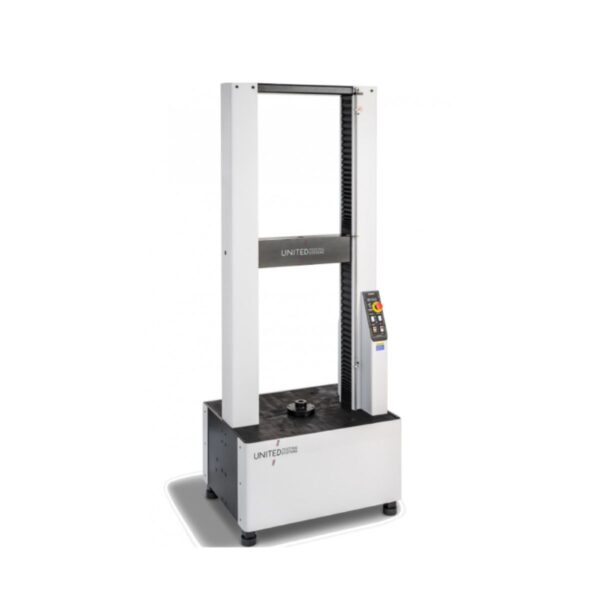
    United’s DFM-150kN test frame is ideal for testing samples up to 150 kN. (33,700 lbf.). From basic tension and compression testing to advanced materials testing the DFM-150kN is a versatile test system used across virtually all industries.

    <...

    United’s DFM-150kN test frame is ideal for testing samples up to 150 kN. (33,700 lbf.). From basic tension and compression testing to advanced materials testing the DFM-150kN is a versatile test system used across virtually all industries.

    Floor model systems are designed to sit on lab or production floors due to their increased size and weight. We offer both servo-electric floor model systems and servo-hydraulic floor model systems. For information on our servo-hydraulic systems, please return to the product menu and select one of the DHFM systems.

  • United Testing Systems – Test Frame – DFM 600kN

    United’s DFM-600kN test frame is ideal for testing samples up to 600 kN. (134,800 lbf.). From basic tension and compression testing to advanced materials testing the DFM-600kN is a versatile test system used across virtually a…

    United’s DFM-600kN test frame is ideal for testing samples up to 600 kN. (134,800 lbf.). From basic tension and compression testing to advanced materials testing the DFM-600kN is a versatile test system used across virtually all industries.

    Floor model systems are designed to sit on lab or production floors due to their increased size and weight. We offer both servo-electric floor model systems and servo-hydraulic floor model systems. For information on our servo-hydraulic systems, please return to the product menu and select one of the DHFM systems.

  • United Testing Systems – Test Systems – DHFM Floor Model

    United servo-hydraulic controlled DHFM Series Test Systems are available in capacities from 300 kN. to 2,000 kN.

    The fully-accessorized DHFM Series Testers include a complement of support hardware and a…

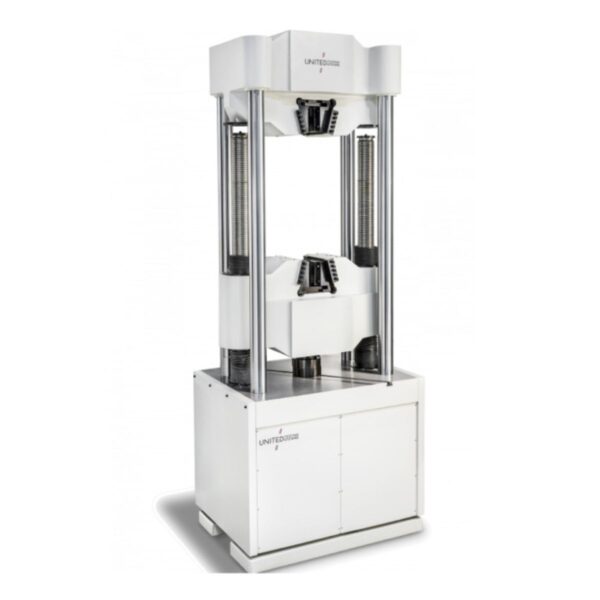
    United servo-hydraulic controlled DHFM Series Test Systems are available in capacities from 300 kN. to 2,000 kN.

    The fully-accessorized DHFM Series Testers include a complement of support hardware and accessories to immediately commence testing for tensile or compressive strength as well as bend and flex testing. By incorporating proven hardware plus USB-connectivity for high speed data acquisition and control, the SHFM Series takes full advantage of our extensive library of Windows®-based test methods. These test methods generate test results that are fully compliant with internationally recognized standards such as ASTM, ISO, EN, JIS, DIN and BS.

  • UTS – TB II Rockwell Hardness Tester

    United’s Tru-Blue II is an all scale computer-controlled Rockwell hardness tester utilizing a precision load cell for accurate force measurement. Tough, durable and easy to use. Removable clamping device allows for supporting …

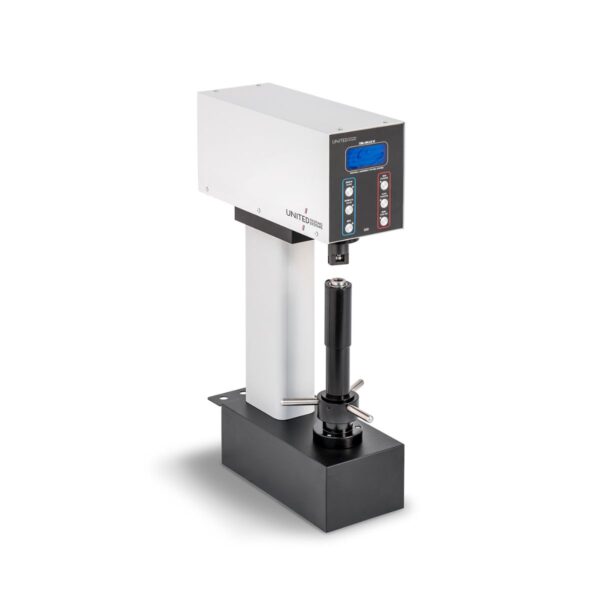
    United’s Tru-Blue II is an all scale computer-controlled Rockwell hardness tester utilizing a precision load cell for accurate force measurement. Tough, durable and easy to use. Removable clamping device allows for supporting odd shaped and large heavy parts.

    What is Rockwell Hardness Testing?

    The Rockwell Hardness Test is generally a non-destructive test performed on samples when it is necessary to determine how hard a material is.  Hugh M. Rockwell (1890–1957) and Stanley P. Rockwell (1886–1940) from Connecticut co-invented the first tester and a patent was granted in 1919. The Rockwell Hardness test is generally considered easier to perform compared to other methods such as Vickers or Brinell.

    Hardness is defined as a material’s resistance to permanent indentation. Current Rockwell Hardness test methods are specified in ASTM E-18 and anyone wishing to perform a Rockwell Hardness test should become familiar with this test standard.

    Rockwell Hardness Test Procedure

    The Rockwell hardness test consists of indenting the test material with a diamond cone or hardened steel ball indenter. Each time a test is performed two loads are applied to the sample being tested. First, the indenter is forced into the test material under a preliminary minor load and this depth is recorded. With the minor load still applied an additional load is introduced known as the major load which increases the depth of penetration on the sample. The Major load is then removed, and the force on the sample is returned to the minor load. The increase in the depth of penetration that results from applying and removing the major load is used to calculate the Rockwell hardness value.
  • Viscom – Solder Paste Inspection – iS6052-SPI 

    The iS6052 SPI is Viscom’s

    The iS6052 SPI is Viscom’s cutting-edge solution for precise solder paste inspection in SMD production. With over four decades of expertise behind it, this 3D inline system ensures comprehensive evaluation of key solder features such as volume, height, shape, and more. Advanced sensor technology, including an orthogonal camera and four lateral views, enhances inspection accuracy, while realistic color imaging accelerates verification. The Fast Flow handling system boosts throughput, synchronizing assembly flow seamlessly and minimizing handling times. Equipped with intelligent networking capabilities, the iS6052 SPI offers superior process stability and efficiency for modern SMT lines. 

  • Viscom_Bond Inspection_X7056-II BO 

    The inspection system X7056-II BO effectively combines optical in-line wire bond control with automatic X-ray inspections. This

    The inspection system X7056-II BO effectively combines optical in-line wire bond control with automatic X-ray inspections. This comprehensive inspection concept enables higher efficiency, optimizes cycle times and thus improves throughput. Where the bottom line is concerned, procurement costs are significantly lower than purchasing two separate inspection systems. The Viscom inspection software is designed for maximum inspection depth and accuracy. The standard library contains inspection patterns for die, ball-wedge, wedge-wedge and security bonds. The inspection scope can be individually extended. During the inspection, high-resolution optical camera technology captures all bond sites and wires. The automatic X-ray inspection then follows­ seamlessly. Thus, for example, hidden connection sites can also be reliably inspected in one run. 

  • Viscom_Optical Inspection_iS6052 THT

    The iS6052 THT inspection system is the most efficient quality control inspection of Viscom. Engineered for precise component placement verification on THT (Through-Hole Technology) boards. Utilizing advanced AOI (Automated Optical Inspection) tec…

    The iS6052 THT inspection system is the most efficient quality control inspection of Viscom. Engineered for precise component placement verification on THT (Through-Hole Technology) boards. Utilizing advanced AOI (Automated Optical Inspection) technology, it inspects from above the PCB, setting it apart from conventional systems that inspect from below. Designed for accuracy and efficiency, the iS6052 THT ensures reliable quality assurance in THT assembly processes.

  • Viscom- X-ray Inspection- iX7059-one

    The iX7059 One can guarantee exceptional precision, with a resolution down to 1µm, ensuring every detail is captured with accuracy. This advanced system offers versatile 2D, 2.5D, and 3D X-ray inspection capabilities, m…

    The iX7059 One can guarantee exceptional precision, with a resolution down to 1µm, ensuring every detail is captured with accuracy. This advanced system offers versatile 2D, 2.5D, and 3D X-ray inspection capabilities, making it perfect for semiconductor, power module, and leadframe applications. Designed for 100% inline inspection, the iX7059 One excels in detection, providing reliable performance for high-volume production. With easy programming and seamless integration, it’s the ideal solution for manufacturers seeking consistent quality and efficiency.

  • VJ Electronix – Apogee 90

    The APOGEE 90 was built to fulfill the need for an affordable and reliable inspection system with advanced features for defect detection, failure analysis, and NDT in production environments. The system is capable of capturing t…

    The APOGEE 90 was built to fulfill the need for an affordable and reliable inspection system with advanced features for defect detection, failure analysis, and NDT in production environments. The system is capable of capturing the highest clarity 2D & 2.5D x-ray images that provide operators with confidence in their findings.

  • VJ Electronix – Summit 1800i

    The most installed rework system in the world. The Summit 1800i is capable of handling boards up to 22″x30” and components as small as 01005. Built with easy-to-use 1-2-3-GO software, operation of this rework system is s…

    The most installed rework system in the world. The Summit 1800i is capable of handling boards up to 22″x30” and components as small as 01005. Built with easy-to-use 1-2-3-GO software, operation of this rework system is simple and intuitive. Efficient convection heating provides high thermal throughput, uniformity, and a repeatable rework process. Proprietary software provides product traceability, profile analysis, and sharing of profiles between VJE systems.

  • VJ Electronix – Summit 2200i

    Our rework system boasts user-friendly 1-2-3-GO software and efficient convection heating, along with proprietary software for product traceability and profile sharing between VJE systems. Automated features enable the reworking…

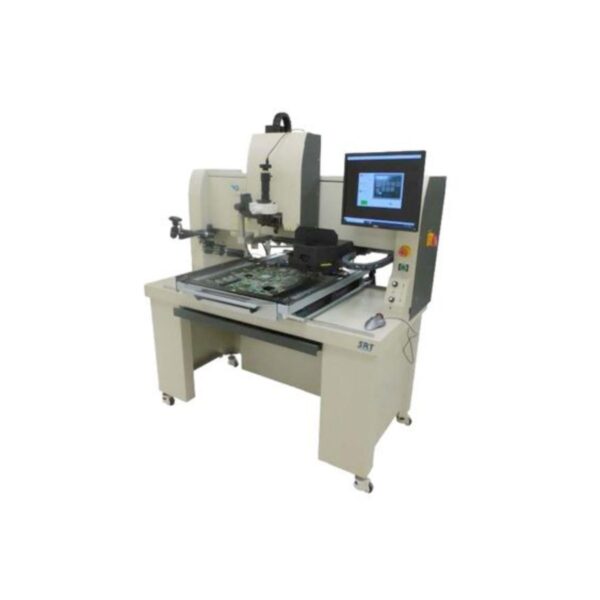
    Our rework system boasts user-friendly 1-2-3-GO software and efficient convection heating, along with proprietary software for product traceability and profile sharing between VJE systems. Automated features enable the reworking of large components, while non-contact site scavenging ensures the safe removal of residual solder. This system provides a reliable and efficient solution for rework processes.

    Rework done on the Summit 2200i with Auto Align results in reliable, repeatable processes with greater system up-time, machine utilization, and a faster ROI.

  • VJ Electronix – Summit 750i

    The cost-effective and high performance solution to your rework needs. The Summit 750i is capable of handling boards up to 18″x22” and components as small as 0201. Built with easy-to-use 1-2-3-GO software, operation of t…

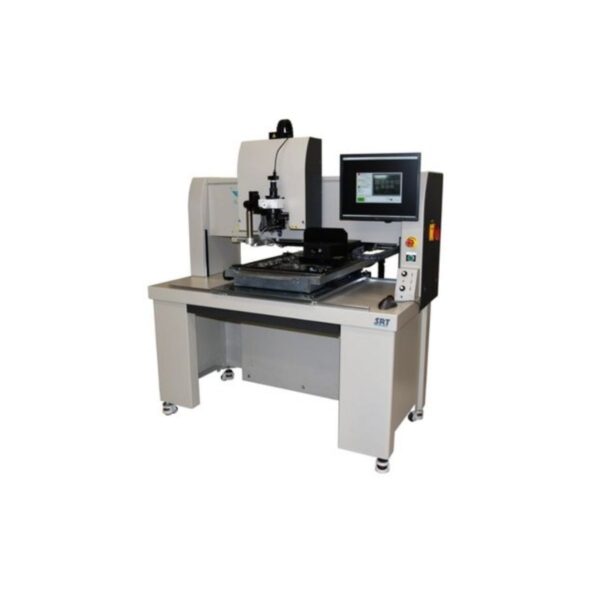
    The cost-effective and high performance solution to your rework needs. The Summit 750i is capable of handling boards up to 18″x22” and components as small as 0201. Built with easy-to-use 1-2-3-GO software, operation of this rework system is simple and intuitive. Efficient convection heating provides high thermal throughput, uniformity, and a repeatable rework process. Proprietary software provides product traceability, profile analysis, and sharing of profiles between VJE systems.

  • VJ Electronix – Summit Lxi

    The go-to rework system for 5G, and large board applications. The Summit LXi is capable of handling boar…

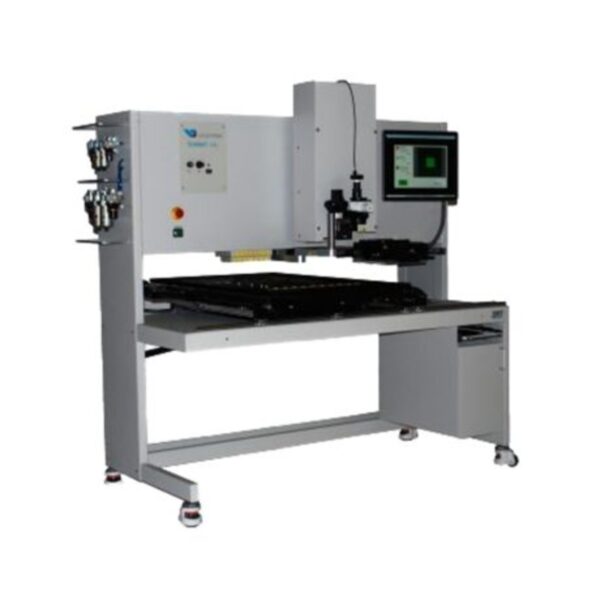
    The go-to rework system for 5G, and large board applications. The Summit LXi is capable of handling boards up to 25″x47” and components as small as 01005. Built with easy-to-use 1-2-3-GO software, operation of this rework system is simple and intuitive. Efficient convection heating provides high thermal throughput, uniformity, and a repeatable rework process. Proprietary software provides product traceability, profile analysis, and sharing of profiles between VJE systems.

  • VJ Electronix – XQuik II Plus

    The XQuik II Plus is an improved version of the most installed component counter in the world today. With improved speed, higher count accuracy, and reduced cost, the XQuik II Plus is the go-to solution for your organization.

    The XQuik II Plus is an improved version of the most installed component counter in the world today. With improved speed, higher count accuracy, and reduced cost, the XQuik II Plus is the go-to solution for your organization.

  • VJ Electronix – XQuik II Plus Autoload

    The system’s advanced detection algorithms automatically recognize components without the need for cumbersome models, libraries, or cloud connection, making it quick and simple to use. Unique imaging technology provides the gr…

    The system’s advanced detection algorithms automatically recognize components without the need for cumbersome models, libraries, or cloud connection, making it quick and simple to use. Unique imaging technology provides the greatest count accuracy and reliability.

    The XQuik’s flexible MES interface is easily configured to communicate with any inventory control system. Automatic detection determines whether a single, or up to four small reels are loaded, and keeps track of reel location, eliminating the risk of operator error.

  • VJ Electronix – XQuik III

    XQuik III Highest count accuracy in the simplest, fastest x-ray component counter. XQuik III counts the most difficult reels at the 99.8% industry accuracy standard.

    XQuik III Highest count accuracy in the simplest, fastest x-ray component counter. XQuik III counts the most difficult reels at the 99.8% industry accuracy standard.

  • X-ray Diffractometer, Malvern Panalytical Empyrean (XRD)

    The Multipurpose Solution for Your Analytical Needs

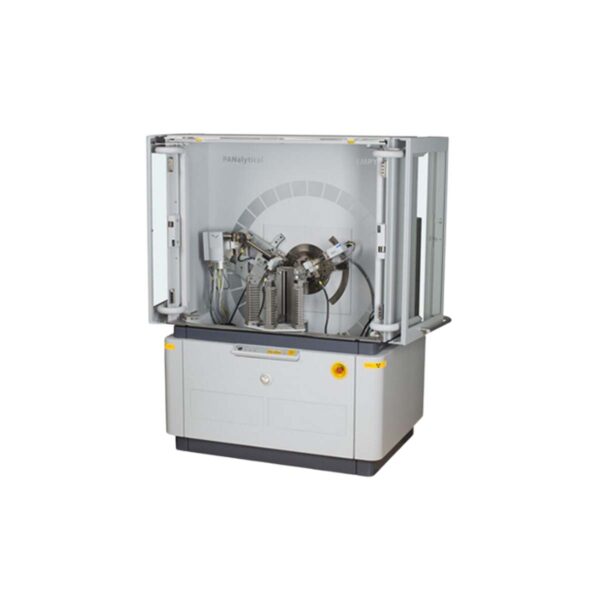
    With the Empyrean, PANalytical has set the new standard for a multipurpose diffractometer. In developing the ultimate X-ray platform for the analysis of powders, thin film…

    The Multipurpose Solution for Your Analytical Needs

    With the Empyrean, PANalytical has set the new standard for a multipurpose diffractometer. In developing the ultimate X-ray platform for the analysis of powders, thin films, nanomaterials and solid objects, the PANalytical R&D team has redesigned all key components of the X-ray diffractometer from the ground up.   It is PANalytical’s answer to the challenges of modern materials research, where the lifetime of a diffractometer is considerably longer than the horizon of any research project.

Business Lines

Commercial and Industrial Applications

Precision Machinery

Scientific Solutions

Semiconductor & Electronics

Order Online

LabShop

Delivering Growth – in Asia and Beyond

test block for Laos

Contact us

Contact us

Contact us

Contact us

Contact us

Contact us

Contact us

Contact us

Contact us

Contact us

Contact us

Your download – just a few steps away

Please enter your details here:

test

Contact us

Contact us

Contact us

Contact us

Contact us

Contact us

Contact us